In today’s fast-paced online business environment, seamless email communication is a cornerstone of effective project management, accounting, and operational success. Bullet, the all-in-one software solution for small online businesses, not only streamlines accounting, payroll, project management, and proposal processes but also enhances chat communications. Follow this definitive guide to configure SMTP settings in Bullet, ensuring your business emails are transmitted successfully via Gmail.
Step 1: Enhance Security and Connect Bullet with Gmail
To connect Bullet to your Gmail using secure settings:
- Open your Gmail account and head over to the gear icon to access its settings.

- At Forwarding and POP/IMAP look for the option called IMAP access and disable it.

-
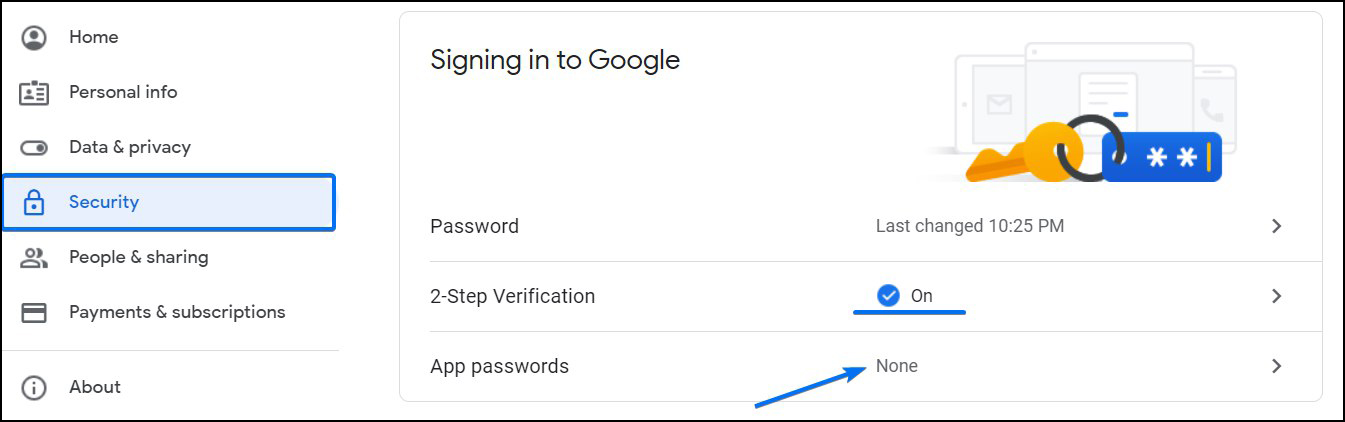
Click on your account’s icon and select Manage your Google Account.

- Open the Security section and select App passwords.
-
In ‘Select app’ choose ‘Other (custom name)‘, give it a name and press Generate. The name can be 123FormBuilder. This way you know that the password is related to your 123FormBuilder forms.

- It will give you a 16-digit code. Copy and save the password.

Step 2: Access Your Bullet Settings
- Log into your Bullet account. Pick ‘Accounts and Payroll’ section in the top left burger menu dropdown.

- Click on the cog icon located in the top-right corner of your dashboard to navigate to the settings.

- Look for the “Email Preferences” option on the right-hand side and click on it to go to the Email Server Settings tab.

Step 3: Save your settings in Bullet
In Bullet, under the Email Server Settings section, fill in the following details:
- Email Server Protocol : Enter smtps .
- Email Server Host : smtp.gmail.com
- Email Server Port : 587
- Email Server Username : This should be your full Gmail address (e.g., myname@gmail.com )
- Email Server Password : Use the 16-digit app password you generated in Gmail.
- Save your settings in Bullet.
Step 4: Adjust Your Gmail Security Settings
- Visit https://www.google.com/settings/u/2/security/lesssecureapps
- Select Turn On for Access for less secure apps.
Step 5: Testing Your Settings
Send yourself an invoice from your Bullet account to test the SMTP settings. Ensure that everything is correctly set up and that your emails are sending successfully.
If you still have questions or need further assistance, please don’t hesitate to contact our support team through the chat feature on this site (click here), located in the bottom right corner.